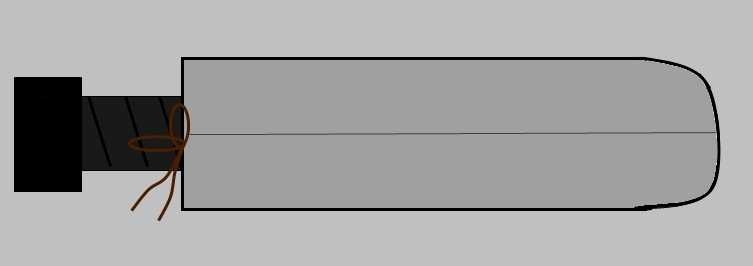
Routed Box Tutorial
A more advanced method for those who want to go beyond blue camp mat.
Materials/Tools Needed
- 1/2" fiberglass
- DAP Contact Cement
- Evalite/2lb EVA foam/2lb Minicell/2lb polyethylene or Blue camp pad
- Routed 4lb Foam/puzzle mat
- Strapping tape
- Duct tape
- cloth tape. Most commonly comes in both black and white. Black will not show dirt.
- Carpet tape
- Color tape Blue, and green if you decide to make a stabbing sword.
- 1/8-3/8" rope
- Cover fabric, preferably trigger
- hacksaw
- Straight edge of some sort, be it a (preferably metal) yardstick, ruler, etc.
- Razor blades/cutting tool
Instructions
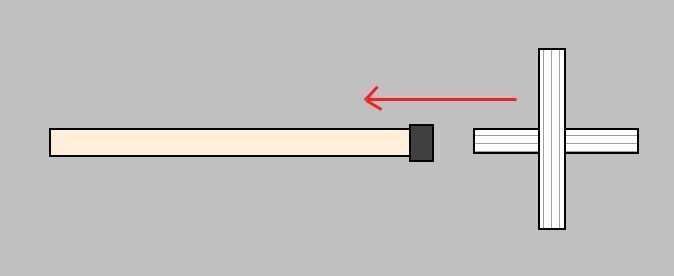
1) Cut core to desired length using hacksaw. Sand the surface or your core (while taking appropriate safety measures- wear a mask and gloves). This will help the DAP stick. Cut a small scrap of 1/2" thick 4lb foam (or 2lb/blue camp mat if neccessary) into a circle that's just a tiny bit wider than the tip of your core. This is your 'biscuit.'
2) Take two 3" long, 1/2" wide strips of strapping tape and make them into an X. Tape this X on your biscuit.
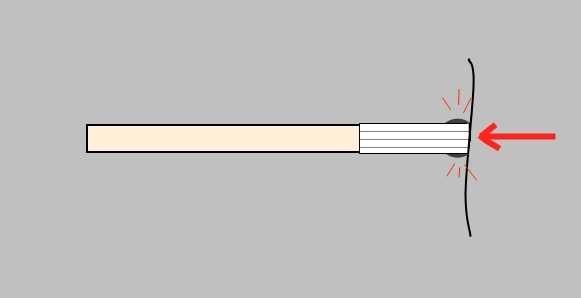
3) Tape your biscuit onto the tip of the core, compressing it onto the tip as hard as you can. You now have a layer of super compressed foam on the tip of your core.
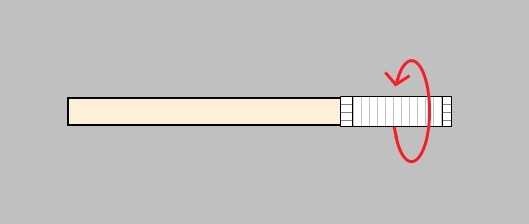
4) Cut a 3" long strip of 1" wide strapping tape; you'll wrap this around the tip to keep the biscuit from popping off.
Your biscuit is secured. The tip of your core is now a slightly rounded, super-compressed but still slightly squishy lump of foam. This firm, rounded tip will be a little gentler to the inside of your 4lb fry, reducing the chance that the edge of your core's tip will bite into and cut through the 4lb foam. In other words, it keeps the core's tip from being so sharp that it cuts its way out of the sword, thereby improving overall longevity. It's also the base of your stab tip.
Sand the strapping tape with a medium-fine sandpaper (say, 160 or 200 grit) to rough up the smooth surface of the strapping tape. This will allow DAP to stick to it better, reducing the chance of tip blowouts even further.
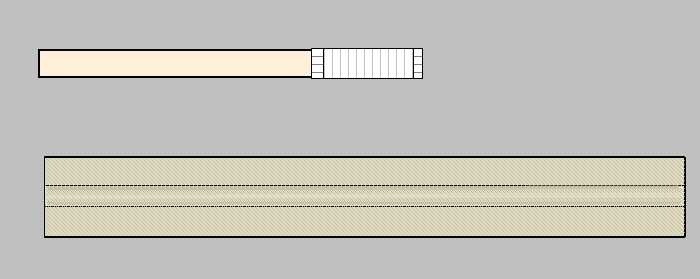
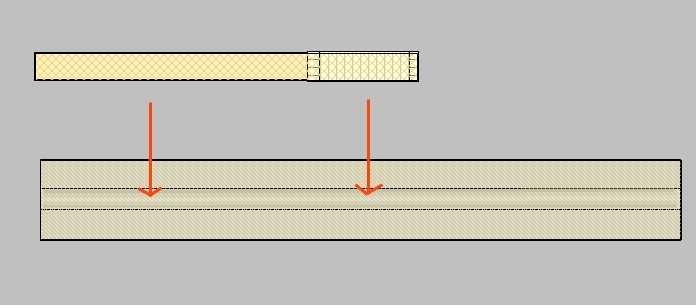
5) Get a 1.5" wide, 0.5" thick strip of 4lb foam, approximately twice the desired length of your blade. You will need to route a channel in this using a router or router plane, or purchase some pre-routed 4lb foam from a weapons vendor.
6) Cover the strip with a good layer of DAP. Don't drown it, but don't be cheap either. Let the DAP get tacky, or even dry to the touch.
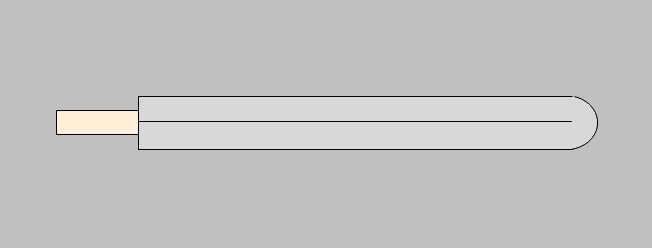
7) Cover the core in DAP. Immediately stick it down into the routed fry (don't let it dry). Make sure it's in the routed channel, but don't worry that it isn't sticking yet. Let it sit in the routed fry until it, too, is dry to the touch.
8)Once the core is dry to the touch, press it down into the channel (which it is already resting in). It should stick now. Make sure that the whole thing is laying on a flat surface for this step, or the blade will have a twist in it!

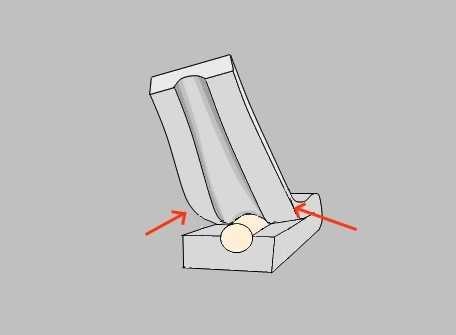
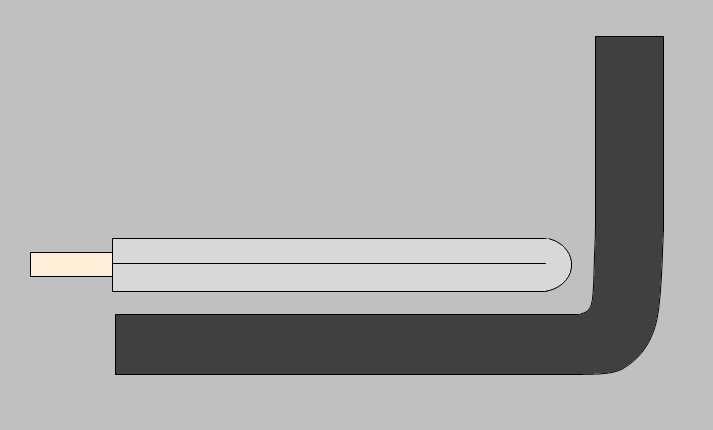
9)Now it's time to fold the other half of the fry onto the core. This step will be trickier, because all of the glue is now dry to the touch and will stick instantly, so you only get one try.
You'll want to bend the fry at a sharp angle, like pictured.
When you hold it at this sharp angle, the foam channel pulls open at the bend, making it easy to fold it completely around the core. If you don't do this, you'll find that it's very difficult to get the fry down over the core without getting stuck half way (remember, the DAP is dry to the touch, so it will stick permanently to the first thing it touches).
And bam! You have a box around the core. Make sure the foam has stuck to the core uniformly by setting the sword down on a hard, flat surface and pressing down on it (use your body weight, or stack some books on it).
10)At this point, the tip is going to want to pull apart. If you have a vice, you can clamp the tip for a few minutes/hours. Or you can leave the sword with books stacked on it overnight. Alternatively, you can just keep an eye on it and press it back together if you see it starting to pull apart.
It's best to wait a day before going on to the next step (allowing the DAP in the tip to dry completely so it can't pull apart), but you don't have to.
11)Now grab your 2lb foam. You will need your outer layer to be 1.5" wide and an inch thick, so cut a 1" thick strip of 2lb foam, or layer 2 strips of 0.5" foam. If you are using blue camp pad, you may need 3. Give your 2lb strip and your 4lb box a good coat of DAP (again, don't be stingy, but don't drown it either).
12)Once they're both dry to the touch, press them together.
13)Optional: Run a strip of duct tape down each of the flats. Some foamsmiths say that this reinforces the seam
14)Do the pommel, handle, stab tip and cover as you like, and you're done!
____
Source: http://www.dagorhir.com/forums/index.php/topic,26058.0.html


