Madog's leather tutorial Cutting the leather
Cutting the leather, this is the 3rd part of the Madog's leather tutorial. It covers the tracing of patterns, following of pattern instructions, and the cutting of the actual leather.
Tools needed
- Pen
- Leather
- Patterns
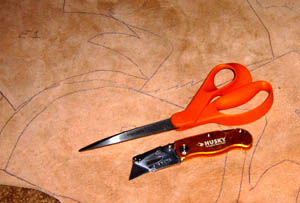
- Mr. Friskar
- Husky Knife
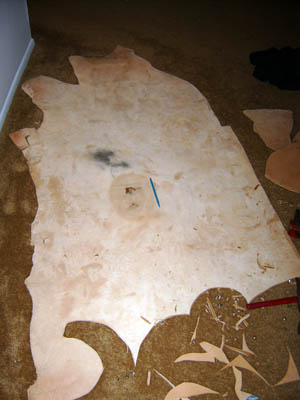
- You're going to need some leather. Here is the heaviest leather you can purchase from Tandy in a hide format. It's amazingly crazy stuff. In the thicker areas it measures 3/8 of an inch thick. And it is virtually impossible to work with. Gosh, I love this stuff. It has no problem passing as armor at SCA events and should never fail as leather armor in Belegarth. It cost about 120$ for a full hide from a Tandy Leather Store, if you pay attention you can get it for 70$ if you're a dealer and catch it on sale. Along with a ball point pen, this is the only new stuff your going to need in this part of the project. Everything else you should already have.
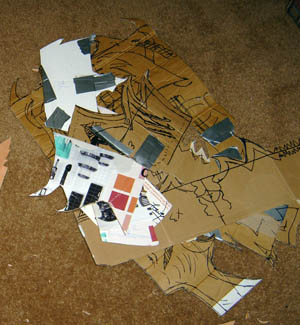
- You're going to need your patterns from the previous step, of course.
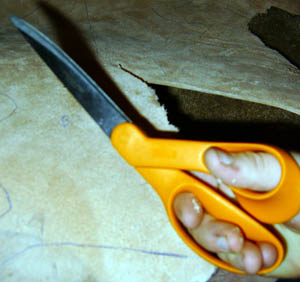
- Mr. Friskar, now hold up a second... you're going to use a pair of scissors on leather? YES. But 2 things to remember... Never put excessive force on Mr. Friskar.. if you do he breaks. If the leather is too thick (which is very often the case with this super hide we got) don't force or taunt Mr. Friskar... he will break.... When Mr Friskar breaks it often hurts you in the process. I'll repeat; DON'T TAUNT MR. FRISKAR.
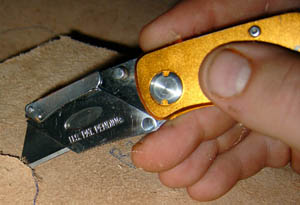
- This is going to be your main cutting tool in this part of the project. I recommend having some extra blades on hand. I went through 2 sides of a blade in the cutting of this hide. I also have a knife sharpener that I used on the blade when it started to get really dull.
Lay out the Patterns
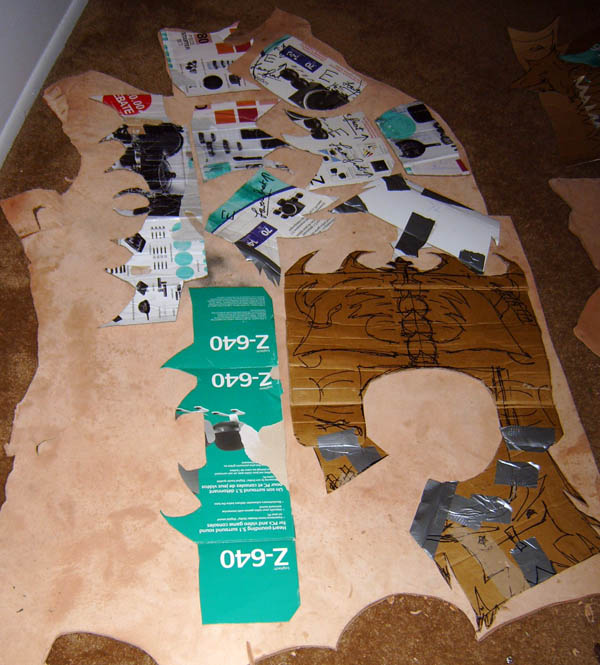
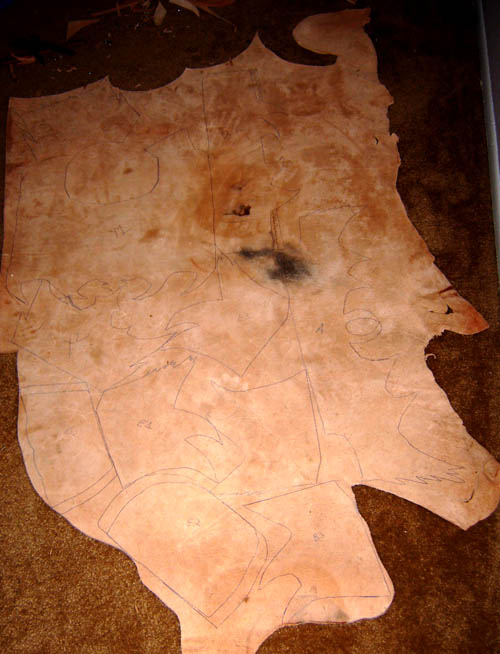
- You're always going to do this first. It is just the way things are. You want to find out where you can save the most leather in the project. Tragically this project calls for a lot of waste. A regular suit of Ravager Armor from the Uruk-hai has almost no waste which just rocks. Oh well, I got into this one expecting things to be expensive. Here is the layout on this ~3/4 of a hide. I had to pull out another hide to trace 2 more of the back lames / ribs on.
Note on the waste: From what is leftover on this project I will have tons of triangle pieces left over. Some of these pieces will be used to make the rear on the skirt of the suit if they are long enough. The other pieces I will put in my scrap bin and will probably give to some goblins as payment for doing something for me.
Trace out the pieces
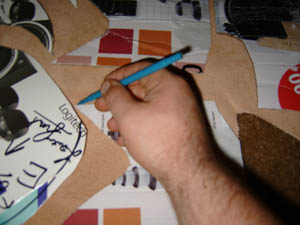
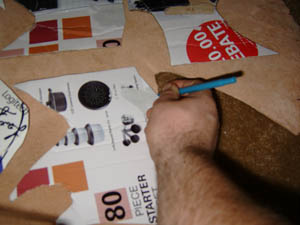
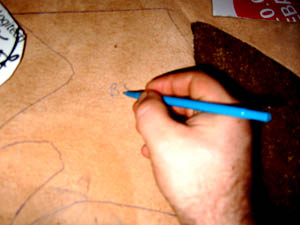
- Start tracing, buddy. It takes up a lot less time than cutting.
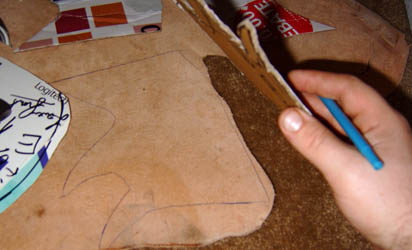
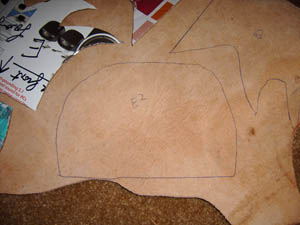
- See the nice shape.
- Don't forget to label each piece so you don't forget what it is!
Planned modify on the fly
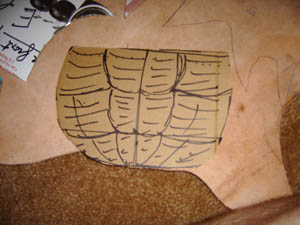
- Remember those pesky ab/ bulkhead stencils from the stencil section? Well they're back and now we are ready to follow the instructions.
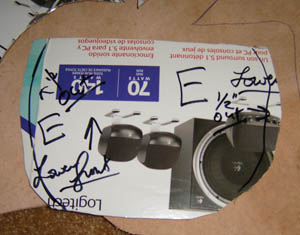
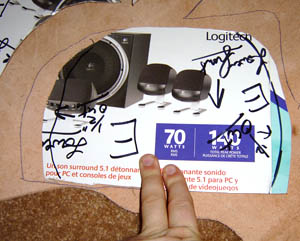
- First read the back... "1/2 -->" basicly means to expand out 1/2 an inch.
- So we are going to trace it leaving enough space for 1/2 on the outer edges.
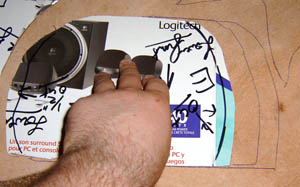
- Now simply shift the pattern over 1/2 to the right and trace the right edge a second time.
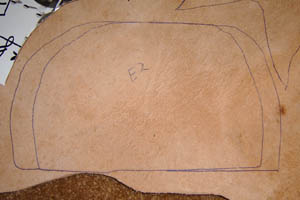
- Repeat for the left side as well.
- Voila! You now have it traced with the instructions.
Marvel at the traced hide
- Here is a finished pic of the hide before I started cutting. See how everything is nice and planned out.
Cutting
- Ok, boys and girls, it's time to do some work! We have to turn these cardboard stencils into leather armor! Oh no! After all this planning and making fake stuff we are actually going to get to work with the leather and MAKE armor.
- Arm theyself, knave. Now while I am a strong advocate of Mr. Friskars in this project, the leather is just too darn thick for us to use.
- That is is right- Death to COWS! by Husky Knife!
- Now before we start, how about finding a good surface to cut on. I have a rented apartment. I don't think I want to cut into the carpet so if you plan on cutting against any surface, which I don't do at all, consider getting a junky board to cut on top of.
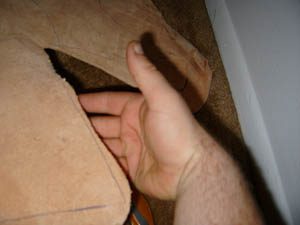
- Ok now I lift the leather and handle it. Granted THIS IS DANGEROUS since you will be cutting with the Husky. I do it all the time and never have done much more than give myself small cuts. If you are going to do it the way I do it, I take no responsibility for you cutting yourself. On a side note I was whittling early September 2006 and stabbed myself when I slipped and had to get 3 stitches. I probably should have gotten 7 or 8 (ask to see the scar sometimes).
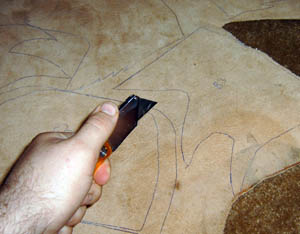
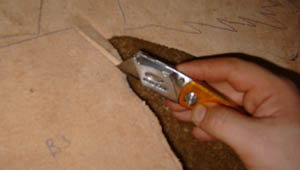
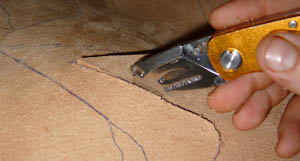
- Let's dig into some leather. Or better yet, take a stab at it. Cut into the leather with the Husky. It is hard to stab directly into the leather. I think it is best to use a drawing motion always when cutting. A little note about following lines. Extra is always good, but take note that the lines are generally always larger than the stencil you traced. I try to stick with the stencils as best I can, but I generally don't worry about small mistakes.
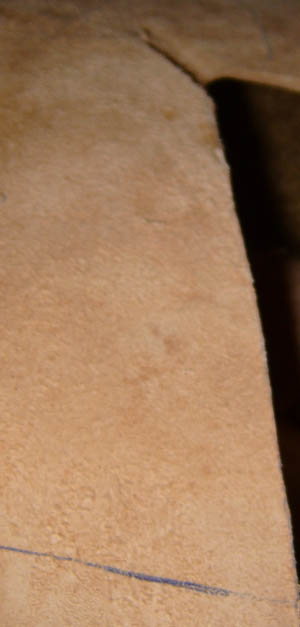
- After the first cut, look and see how thick this leather is. Mr Friskar runs and hides in the corner when it sees this stuff.
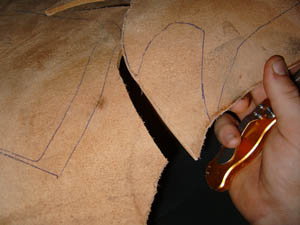
- For longer mostly straight cuts, I use a different cutting method. I go from underneath. Hold the Husky in a closed fist and pull or draw the knife towards me. I use the rotation of my wrist to keep the blade straight up and down perpendicular to my work. A combination of the flex of my wrist and the direction my elbow points determines the direction of the line. It is a lot like backing up a trailer when making curves, where the elbow starts to turn and then the wrist follows.
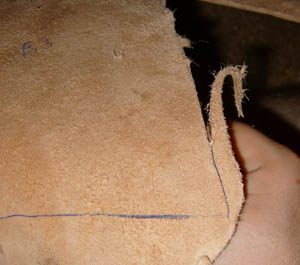
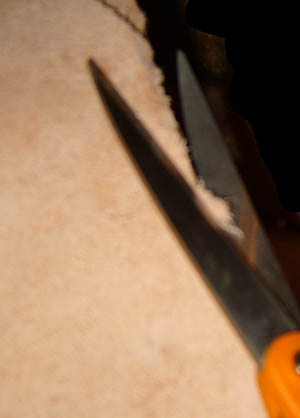
- Mr Friskar emerges from his corner on this one. Some parts of a hide are fuzzier than others. At a 45* angle, I trim the fuzz that sort of balls up and looks all nasty. This quick snip cleans up the edge.
- Cutting deep with the knife makes it harder to turn but quicker to cut. If you're doing straight lines, this is the way to go.
- A shallow cut that only uses the tip makes it easy to turn but slower and more unstable to cut straight.
- Using a combination of shallow and deep cuts, we are able to cut out piece: D3 quickly.
- Sometimes it is easy to simply cut to an edge and then go through and finish up a piece. Holding the entire stock can get tiring. The last thing you want to do is be tired, drowsy, or weakened while cutting leather. You'll end up taking a trip to the hospital. Yeah, I know it is wasteful, but speed and safety are definately more important in my opinion.
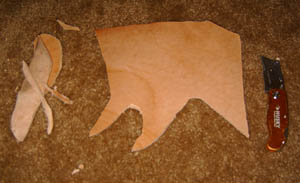
- Here is piece:D3 cut out and ready to go to the next step. On the right is the Husky I used and on the left is the scraps I produced.
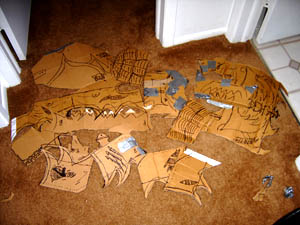
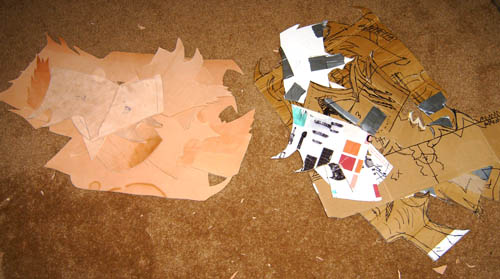
- After about 30 minutes of cutting...Voila, a pile of cardboard has been reborn in animal hide.

