Horns for the Helm
Tutorial by Enderonimus
This is a tutorial on "making horns for your helm" and attaching them to your favorite helmet. This is a fun project and a very easy one to add life and character to any piece, albeit not exactly historically accurate, but still very nice. Materials and tools needed you probably already have, if you've done any foamsmithing.
Materials & Tools needed:
- Scissors
- Flat open cell foam about 4-5 inches thick.
- Cloth medical tape, about 2-3 rolls per pair of horns.
- Liquid nails caulk glue. One tube = 6+ helms with horns.
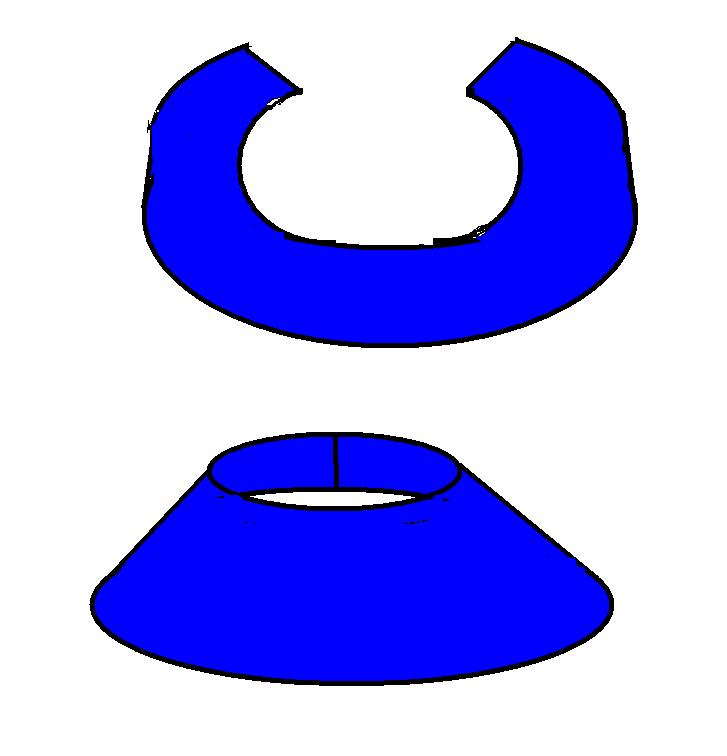
- Rubber Washer:
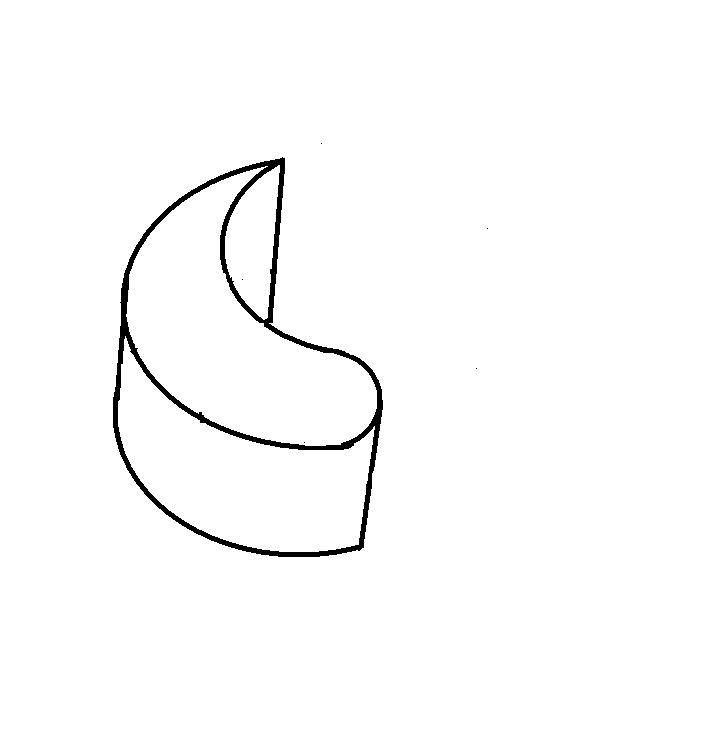
1. Make some patterns for your "horn" shapes to whatever other shape you want to use. Do some research and look at some horned animals for some ideas. Anything is possible.
2. Trace your patterns onto the bulk open cell foam. Don't worry about cutting them into 3 dimensional pieces, just cut them out on the flat open cell.
3. Wrap your medical cloth tape around the horn starting from the base and working to the point. Wrap as tight as you like, as you wrap it will take the 3 dimensional horn shape that is very nice. Make sure you overlap the tape about halfway over itself, giving it adhesion, strength and the nice organic look of actual horn. Don't worry about getting this dirty here, the dirtier the more authentic they look.
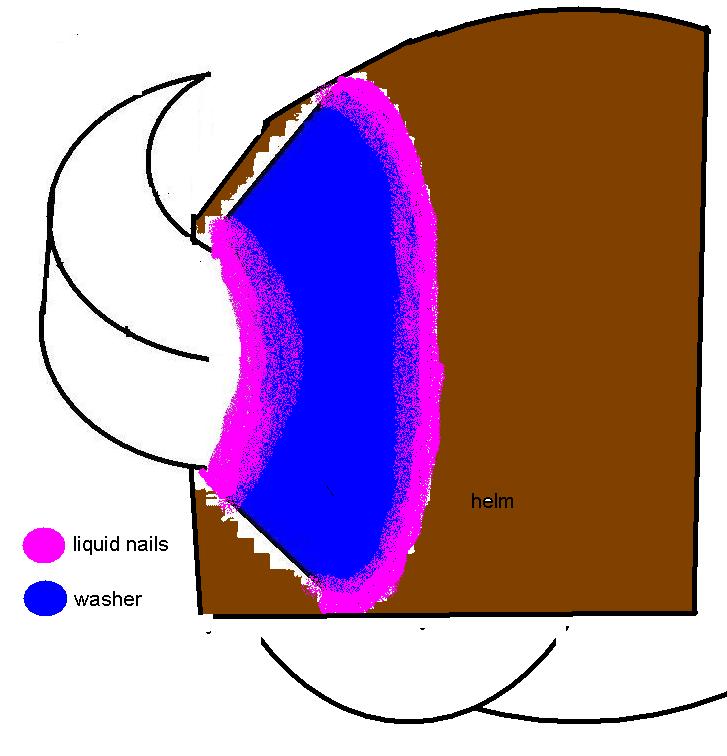
4. Once you have your horns wrapped, your ready to attach them to the "washer" then your helm. Work your washer down from the tip of the horn to the base. Once you have it at the base of the horn, make sure you leave a little of the horn under the washer, as an anchor. Take your liquid nails and run a seal along the rim of your washer attached to the horn, adhering it to the horn.
5.Attaching your horns to the Helm. Repeat the same step you used to attach the horns to your washers to attach to your helmet. Make sure you are sure on the position because the Liquid Nails is a permanent adhesive.
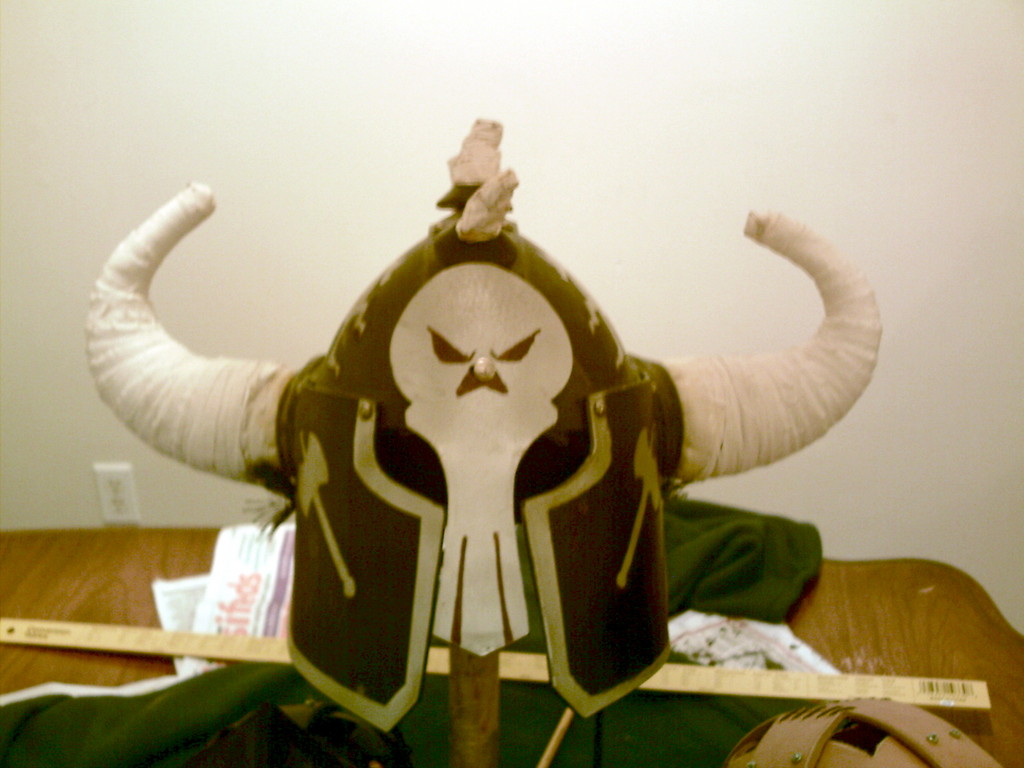
And Viola! You have "horned" your helm. As far as re-attaching and maintenance of the horns, you can easily cut of the washers from the helm, as the Liquid Nails, while being strong and durable, can easily be cut by a razor blade and then reattached in the same way. These horns are so cheap and easily made, that I feel they are well worth the time in maintenance for the look they add. The liquid Nails and soft open cell are so flexible that the horns usually last a long time. Time and tackling will eventually take their toll, so have some extras made for such. But all in all, these should last for many a battle and tourney to come!


