Low-Profile Spear Construction The Batspear
From BelegarthWiki
This low profile spear construction method is created and first used by Batman. This tutorial is not for a complete spear, but for construction of the spear head/stabbing tip only. The spear in this tutorial is being built by Tonberry.
Contents |
Materials Needed
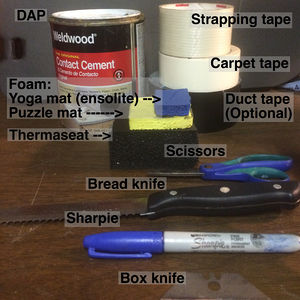
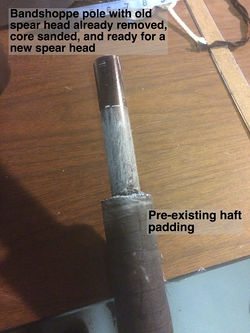
- Your spear core (Bandpole, Bamboo, or Carbon Fiber recommended)
- DAP contact cement
- Strapping tape
- Carpet tape (Optional)
- Ruler, Sharpie, Bread Knife, Box Knife, and Scissors
- Puzzle mat foam
- Yoga mat foam (Ensolite)
- Therm-a-seat foam (between 1.5" - 2" thick)
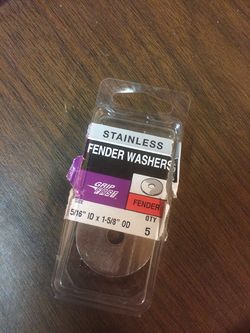
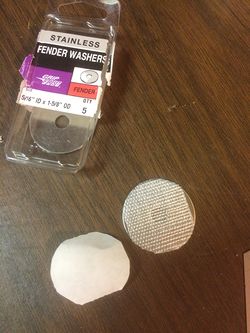
- Steel Fender Washer (I used 5/16" x 1 5/8" size)
Instructions
Cap the core with tape (Optional)
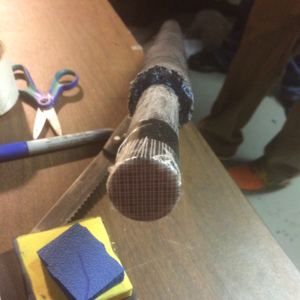
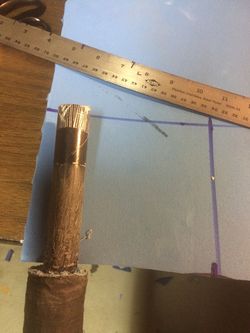
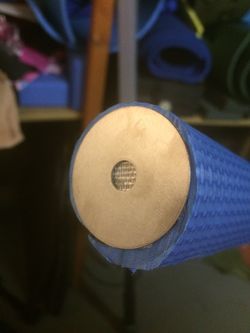
Take two small pieces of strapping tape and tape the end of your core. Place the pieces perpendicular to each other (forms a + shape), and pull the tape tight. It should look as shown in the picture.
(Put those quarters away -- there will be a hard cap later!)
First wrap
Take your puzzle mat. Measure to the desired size. The haft padding on the spear displayed came up a little closer to the spear head than normal. Typically this first wrap is around 9". Add a little wiggle room (about 1/2") to your measurement.
Roll your core in the foam to get an idea of the length you will need. Add about 3" more than you need for the foam to meet for the wrap. I guesstimated the length here and had quite a bit extra, which is fine.
Then, cut out your foam rectangle using your box knife.
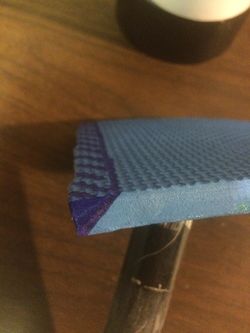
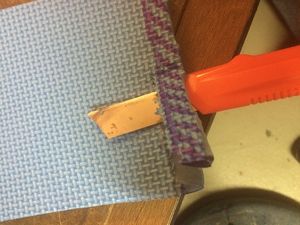
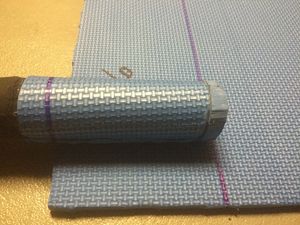
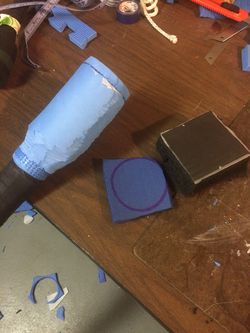
For the wrap, your foam will need to have a beveled edge on the inside portion of the wrap. This is done by trimming the edge of the foam at an angle. In the following pictures, the part of the foam drawn in blue sharpie is being cut away to create the beveled edge.
Make sure you are beveling in the right direction! It should be angled so the uncut, flat side of the foam will be wrapped around your core.
Notice the angle of the beveled foam.
Dap your foam, core, and the edge of foam you just beveled.
Puzzle mat is a very "thirsty" foam. Apply DAP a little thicker than you would on blue foam, or apply a second layer as the first one begins drying. If, after allowing the DAP to dry, you can't feel any trace of dry or tacky DAP, then apply another layer. Two should be plenty.
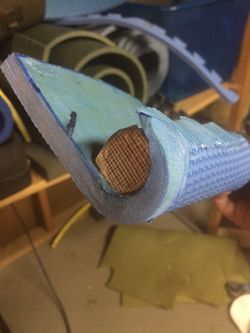
Let the DAP dry completely. Do not attempt to wrap your foam with tacky DAP -- it won't stay. Line up your foam to wrap around your core. Allow a little extra foam to hang past the edge of your core at the top. Wrap the foam tightly, but do not stretch the foam. You will have extra foam overlapping. Do not trim it -- we are going to bevel it too.
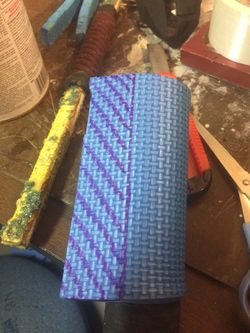
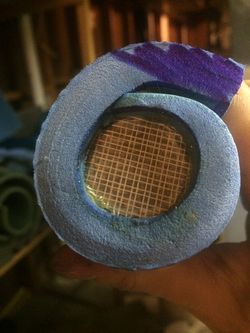
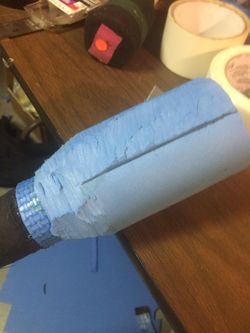
Use your box knife to cut the foam at a beveled edge. Leave enough foam to overlap. Beveling the edges prevents bulk and allows the foam to be wrapped overlapping to hide the seam.
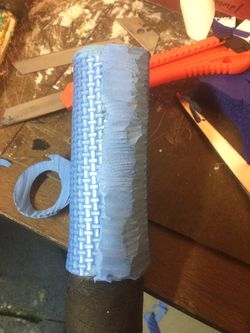
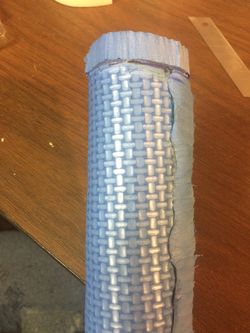
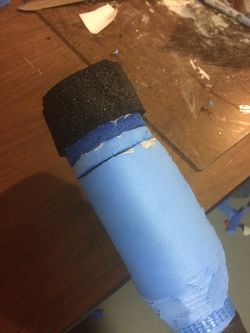
The finished first wrap. I took a very sharp, long box knife and trimmed a bit extra to get a better cylinder shape.
Take your knife and trim the top so the foam is flush with the core, as shown in the pictures.
Cap the core with the washer
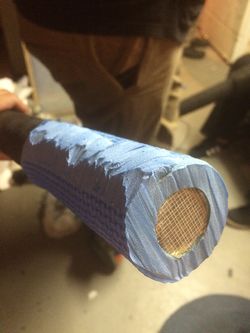
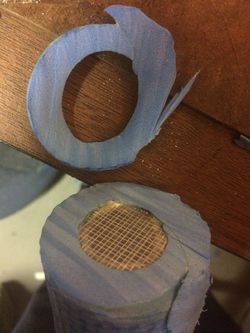
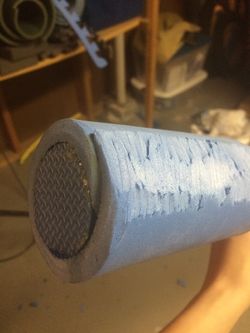
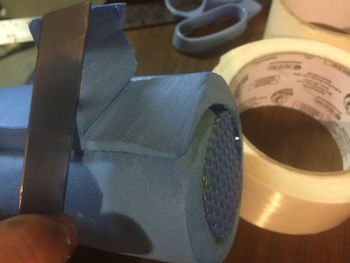
DAP or carpet tape one fender washer to the top of your spear, making sure it is centered. It is okay for the washer to be a little smaller than your foam, as shown. If the washer is much smaller or larger than this, consider a different size. It is important for the washer to be as flush with the head as possible without going past the edge of the foam. This cap distributes the force of your stabs into the foam, over a larger area than the core alone.
Next, cut out a circle of puzzle mat foam to cap the washer. It should be flush with the edges of the wrap. This completes the first layer of the spear.
Second Wrap
The second layer of foam is going to create a seat for your stabbing tip. It is similar to making the first wrap, however this time you are going to flip over your puzzle mat so that the textured sides meet.
Measure out your second wrap to the desired size. This layer is going to be shorter than the first. Typically, the first layer is around 9" long and the second is 5", but you can choose different measurements. In the picture, I marked in sharpie where my second layer will fall on my first. Remember to give yourself a little extra space to trim the wrap flush at the top.
For the length, like measuring the first layer, wrap the foam around your spear and give yourself about 3" of extra to bevel the edges for overlap.
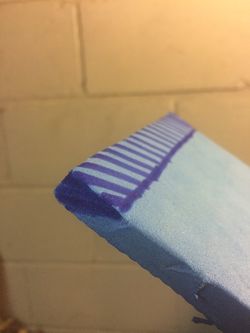
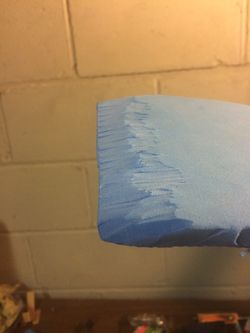
DAP your spear and foam the same as you did for the first layer. Remember to also DAP the beveled edge. Allow the DAP to fully dry before wrapping it around the spear.
Wrap the foam on your spear, so that the seam is on the opposite side from the seam on the first layer. Wrap the foam firmly, but do not stretch or pull on it.
Allow some overlap past the tip so you can trim the top to be even and flush.
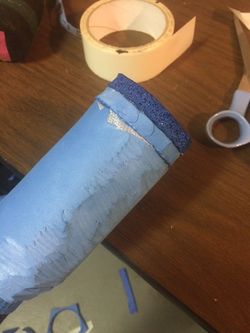
Trim the extra foam at your seam at a bevel, as shown. Trim extra, if necessary, to maintain a cylindrical shape.
Trim the top of the spear so your layers are all even with the cap.
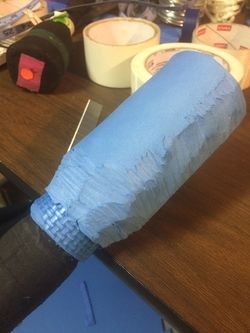
This step is entirely optional, but is recommended. The sloping edge helps prevent people from gaining a hand-hold on the spear head.
This completes the second layer and the base for the spear head.
Stabbing tip
The stabbing tip is composed of three caps of foam: a firm layer, and two soft layers for stabbing.
The first cap can be out of a dense, firm foam like military camp pad or puzzle mat. I used puzzle mat since I already had plenty of it from making the spear head. Check the diameter of the spear head before making the caps to ensure it passes template. Depending on the thickness of the puzzle mat, you might need an additional layer to push the diameter up to passing. If it is only slightly smaller than a passing diameter, you can make the caps slightly bigger and center them on the spear head.
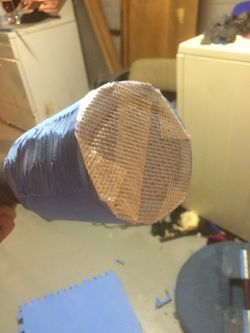
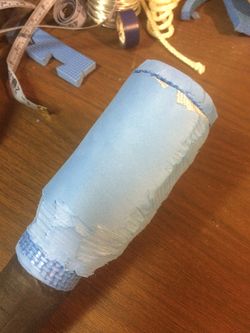
Cut caps out of your yoga mat and therm-a-seat.
The caps are affixed to the spear in this order from base to tip: puzzle mat, yoga mat, and therm-a-seat.
Affix the caps to your spear head with carpet tape or DAP. Carpet tape is preferred so that your stabbing tip can easily be replaced. The rest of the spear head takes a long time to break down, but the stabbing tip goes much more quickly.
Tape support
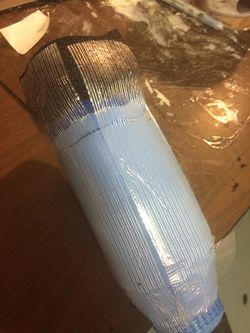
Strapping tape is a lightweight tape used to support the layers of foam. The white lines in the tape prevent it from stretching and need to run vertically along the length of the spear (pictured).
Tape opposite sides of the spear at a time. Place the tape firmly on the spear, but do not pull or stretch the tape. Do not press down on the spear head or compress the foam. You can tape with long strips or X's. You can use more than the four pieces shown here, if desired.
Make sure the tape is running from the top edge of the top layer of foam to the base of your spear head. Do not tape over the foam at the top.
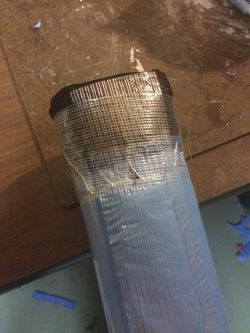
Take another piece of strapping tape and wrap it gently around the spear, over the seams of the stabbing tip caps. Do not pull the tape.
And you're done! Put a cover and finishing tape on it, and you are ready to stab some folks with your brand new lo-pro!
Happy stabbing!
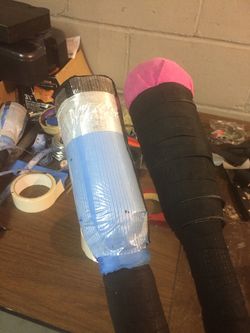
The newly-completed spear (I had to re-wrap the strapping tape) next to another lo-pro of the same construction, complete with cover and tape.
